Guide
Connecting Claude to your IMAP mailbox
A step-by-step guide for making your existing mailbox available in Claude. No new account, no data migration required.
Prerequisites
- A Claude account on the Pro, Team or Enterprise plan. Custom Connectors are available from Pro upwards.
- An inboxmcp.io account. The Free tier is sufficient to begin.
- IMAP and SMTP credentials for your mailbox. For most providers, the email address and password are sufficient. Some Plesk installations require an app-specific password.
Step 1: Create the inboxmcp account
Open app.inboxmcp.io and sign in. Authentication uses a passkey or magic link. A separate email confirmation is not required.
Step 2: Add the mailbox
In the portal, select “Mailboxes” and then “Add mailbox”. Presets are available for common providers (mailbox.org, IONOS, STRATO, Posteo, Plesk hostings). For other providers, enter the IMAP host, port, SMTP host and port manually. The connection is verified immediately.
Step 3: Copy the connector URL
On the overview screen, the connector URL is shown at the top:
https://mcp.inboxmcp.io/mcpCopy it to the clipboard.
Step 4: Add the connector in Claude
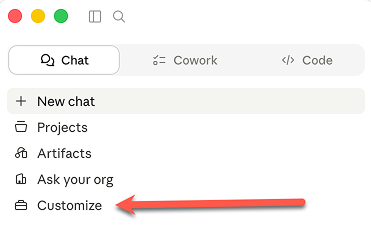
In Claude, open the sidebar and select Customize.
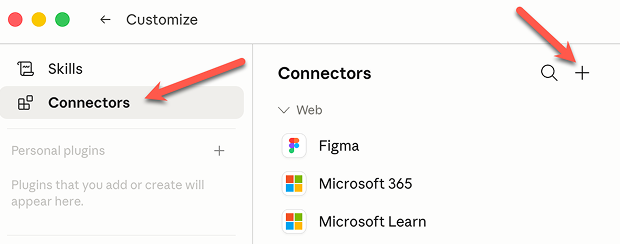
Switch to the Connectors tab and click the plus icon in the top right.
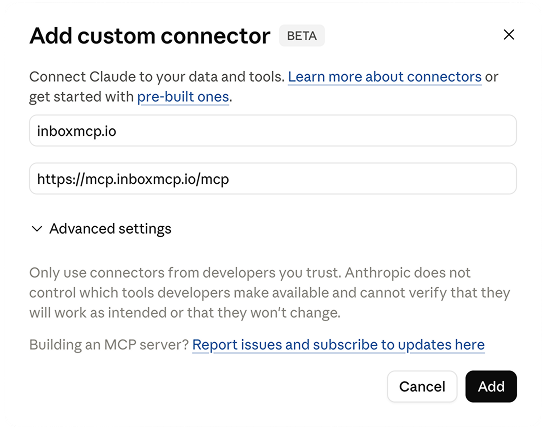
Enter a name (for example inboxmcp.io) and the connector URL https://mcp.inboxmcp.io/mcp, then confirm with Add. The client application registers automatically via Dynamic Client Registration. No client IDs need to be transferred manually.
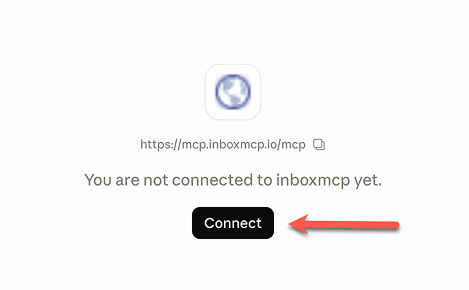
Step 5: OAuth sign-in
On the connector page, click Connect. Claude opens a sign-in window on inboxmcp.io. After signing in, the requested permissions are displayed and need to be confirmed. The setup is then complete.
Step 6: First queries
You can now query your mailbox directly through Claude. Examples of possible instructions:
- “What are the five most recent emails I received?”
- “Summarise last week’s messages.”
- “Reply politely to [person]’s email indicating that I have no availability this week.”
- “Create a folder named ‘Tax 2026’ and move all messages from the tax office into it.”
Multiple mailboxes
Any number of mailboxes can be managed under a single inboxmcp account. When an instruction is issued, Claude selects the relevant mailbox automatically or based on an explicit reference (“in my work mailbox …”).
Common issues
- HTTP 401 during OAuth sign-in. Typically caused by blocked cookies. A different browser profile or a private window resolves the issue.
- IMAP connection fails. Some Plesk installations require a specifically generated app password. Configure it in the portal and retry.
- Claude does not display the Custom Connectors option. The feature is available from Claude Pro and is hidden on the Free plan.